TIPS AND TRICKS TO DESIGNING YOUR GALLERY WALL

So you’re planning your nursery, browsing multiple designs and thinking: where on earth do I begin? What matches what? Wait, how many frames should I buy? What would make a great gallery wall?
We hear you, and we feel you! Don’t worry, you’re not alone. This seems to be the problem many people face out there. In an attempt to make life easy for you, we’ve set up a few gallery wall examples and some tips on how and when to use them. When assembling your photo wall, it’s good to have a plan before hammering in the first nail or making your online purchase. So here are a few steps to make the process less complicated and more fun…
STEP 1. THINK: COLOUR AND SPECIFIC THEME:
First things first - A good place to start is to think of a specific theme or colour scheme. Would you like your nursery to be monochrome, neutral, or colourful? Secondly, think of the theme you would like to create. You may be more inclined towards animals, botanicals, or monochrome typography. Maybe you don’t have a colour scheme and want to mix it up with different colours and concepts. It’s a good place to start. Once you’ve got those colours and concepts, write them down so you won’t get lost browsing and know what to stick with.
STEP 2. WHAT COLOUR SHOULD I USE FOR MY FRAMES?
If your posters are mainly monochromatic it’s a good idea to utilise different frame colours and materials to create contrast. But if your posters are all different, then you might establish consistency by having frames that are the same style or colour to create balance.
STEP 3: PICK A GALLERY WALL STYLE:
Here are various gallery wall templates (including total dimensions) designed to fit onto small or large walls, which you can use as a basis or for inspiration when assembling your own gallery wall.


Measurements are in cm
STEP 4: HANGING:
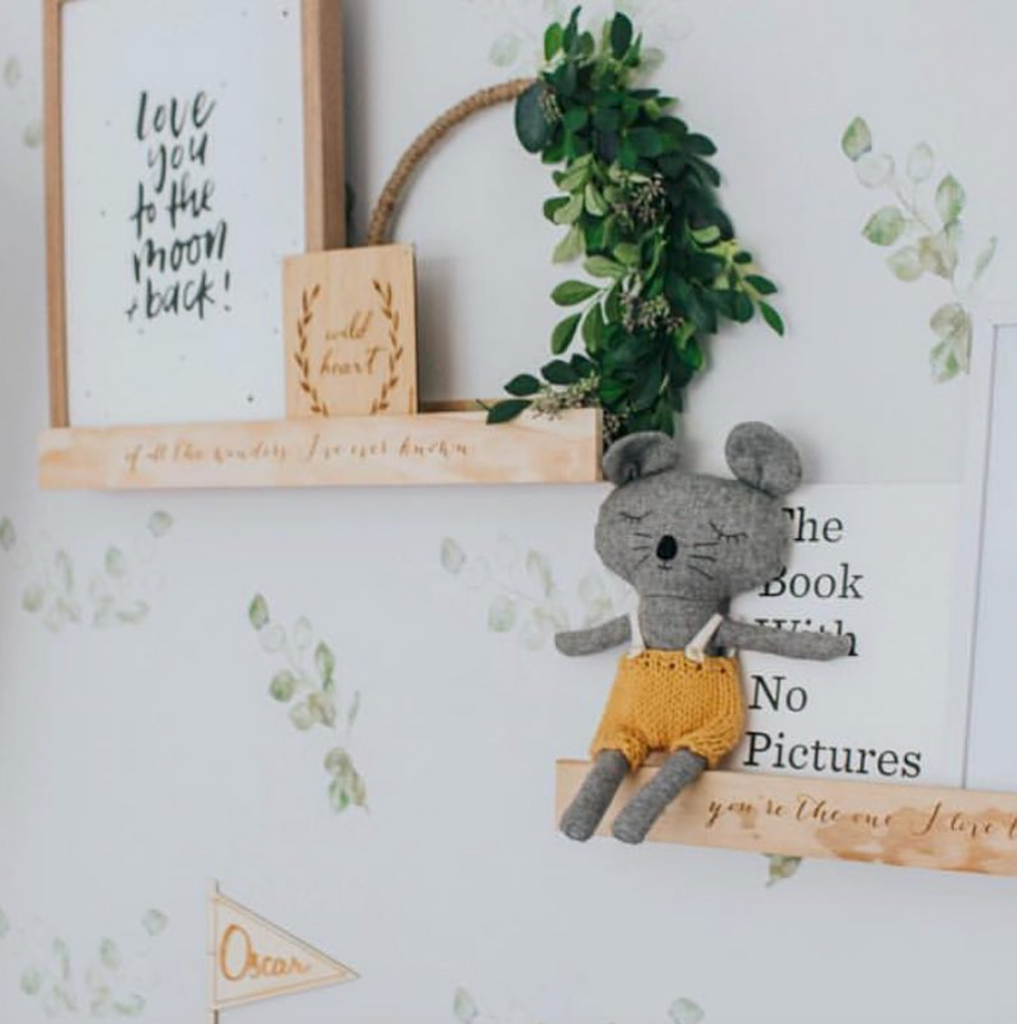
Once you have chosen the designs you will use, it’s time to start planning how they will be positioned on the wall. Lay out your posters and prints on the floor and try out different combinations until you find an ensemble you’re happy with. You don’t always need to hammer nails into walls to create an expressive photo wall – sometimes using poster hangers or leaning your designs against the wall on a piece of furniture or picture ledge works just as well.
Alternatively, to really see if the composition looks good, you can trace each frame onto a piece of craft or tissue paper, trim to size and tape to the wall in your desired order. Ask yourself: is it grouped appropriately? Is it too close to furniture? Is it a comfortable height?

@mommasite
This step is optional but it sure helps alleviate error and unwanted nail holes!
We hope the above helps you get started on your theme planning.
Here are some gallery wall examples from our collection that might help get you started!

